How to share event photos with a QR code
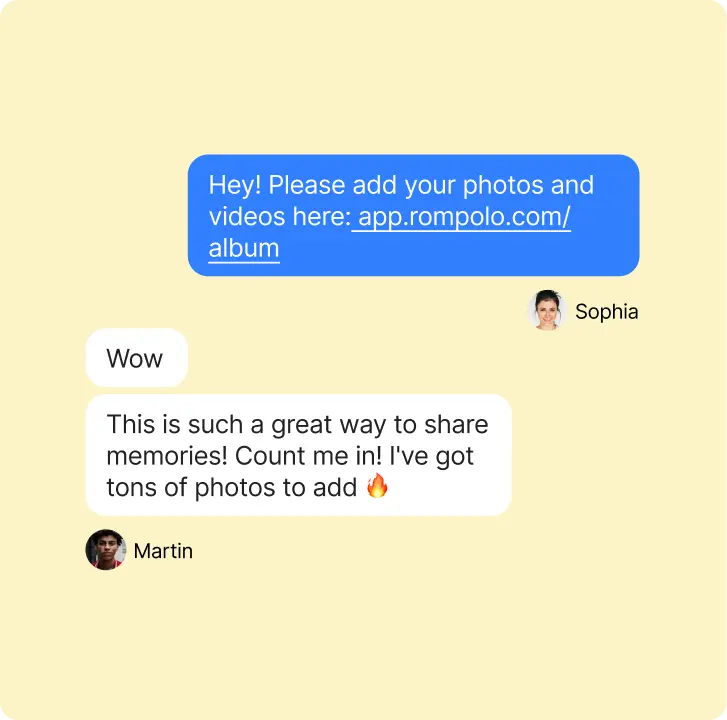
To share event photos with a QR code, create one shared album and put its code on signs, invitations or a screen. Guests scan it with their phone camera, open the album in a browser and upload photos or videos. Remind them during the event, then send the link afterwards for anything still in their camera rolls.
- Create the album and download its QR code.
- Show the code where guests can scan it during the event.
- Send the link afterwards for missed photos.
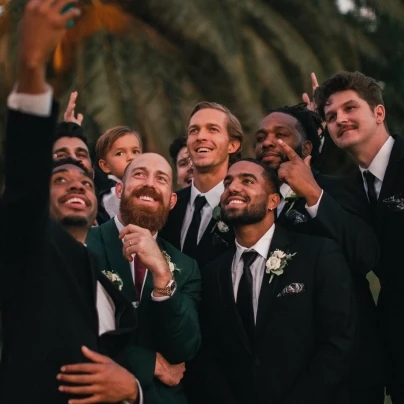


A toast to Emma 🥂 Cheers to more years of happiness and adventure.
Clara
On this page
Event photo sharing with a QR code works best when it feels like part of the event rather than an afterthought. Guests scan a code, add photos and videos from their phone and everything lands in one album. A few decisions before, during and after the event make the difference between a handful of uploads and a full album.
How QR code photo sharing works
You create one shared album and get its link and QR code. Guests scan the code with their phone camera, the album opens in the browser and they upload photos and videos from their camera roll. There is nothing to install and no account for guests to create.
As the organiser you choose what guests can do: view and upload, only view, or only upload so they can’t see other people’s photos. You can add a password, ask for a contributor name and turn on approval so nothing appears until you have checked it.
Before the event
Create the album, download its QR code and test that it opens the album. Before sharing the code, choose who can see uploads and whether they need approval. If you expect a lot of video, choose enough storage: video fills an album far faster than photos. Then add the code to invitations, tickets or the event page and print it for tables, stands and the entrance.
- Pick the privacy mode and decide whether uploads need approval
- Switch off media types you don’t want, such as GIFs
- Style the album so guests recognise the event when it opens
- Test the code on a couple of different phones before printing
- Print the album link in small text under the code as a fallback
During the event
Mention the album when you welcome people and show the QR code on screen during breaks. A live photo wall is the strongest nudge: once guests see the first photos appear with names, others join in.
Placement by event type
At conferences, add the QR code to the last slide of each session and to badges. At weddings and parties, a card on every table works better than one sign at the door. At festivals and fairs, put it on stands, queues and anywhere people wait.
Keep the screen fresh
If approval is on, check the queue now and then so the wall doesn’t stall. You can also delete any upload that doesn’t belong in the album.
After the event
Send the link in your follow-up message so people can add the photos they didn’t get to during the event. A short thank-you with a line such as “Add any photos we missed” usually brings in a second wave of uploads.
Download the album as a ZIP for your recap or archive once uploads slow down. If guests are still sharing, extend the album rather than letting it expire; the owner is reminded a few days before the end date.
QR code album vs group chats and cloud folders
Group chats work for ten friends but get chaotic fast, and photos sent there are often compressed. Cloud folders keep quality but often ask contributors to sign in or install something. A QR code album sits in between: no accounts for guests, one place for everything, and a live screen view a group chat can’t offer.
- Group chat: easy for small groups, messy and often compressed at scale
- Cloud folder: good for people who already use the same service
- QR code album: one scan for everyone, any phone, with a live photo wall
Wording for signs, slides and announcements
Guests act on clear, short instructions. Tell them what to do, why it matters and that it is quick.
- Sign: “Scan to share your photos from today. No app needed.”
- Slide: “Took a great photo? Add it to the event album and see it on the big screen.”
- Announcement: “There’s a QR code on every table. Scan it and add your photos and videos, they’ll appear on the screen.”
- Follow-up email: “Thank you for joining us! Here are the photos so far. Add any we missed.”
Common mistakes
The mistakes that cost the most uploads are simple: one code at the entrance only, no announcement, an untested print, and an album that closes before the follow-up message goes out. Plan around those four and the rest takes care of itself.
Choosing storage and how long the album stays open
A free album runs for 5 days with 0.1 GB, which is enough to try everything with a small group. For a real event, a pay-once album stays online for 6 months and a yearly plan for 12 months, with 10, 30 or 50 GB of storage. Choose more storage if you expect a lot of video.
Every plan includes unlimited guests and the live photo wall. Before the album expires the owner gets a reminder, and you can extend it if people are still adding photos. After that, download everything you want to keep.
Event photo sharing checklist
- Album created, styled and privacy chosen
- Enough storage for the number of guests and the amount of video
- QR code on invitations, signs, tables and slides
- Code test-scanned on printed material
- Announcement planned at the start and during breaks
- Photo wall set up if there is a screen
- Follow-up message with the link scheduled for the next day
More guides
All guides
Photo sharing for conferences, team buildings and company events
How to collect attendee photos at conferences, offsites and holiday parties, with moderation and privacy.
4 min read
Party photo sharing ideas that actually get photos
QR placement, photo challenges, a live wall moment and a next-day recap that brings in more photos.
4 min read
How to make a wedding QR code for photos
Where to put the code, what to write on the sign and how to print it so every guest can scan it.
5 min read